

“The nation that destroys its soil destroys itself.”
— Franklin D. Roosevelt
Healthy soil is the foundation of a successful farm. Before you plant anything, knowing what’s happening under your feet can save you money, time, and effort. That’s where soil testing comes in—and you don’t always need a lab to get started. With some simple DIY methods, you can easily assess your soil’s condition at home and improve crop health naturally.
In this blog, we’ll explore why soil testing matters, easy tests you can do at home, and how to interpret the results for better farming decisions.
Why Soil Testing Matters
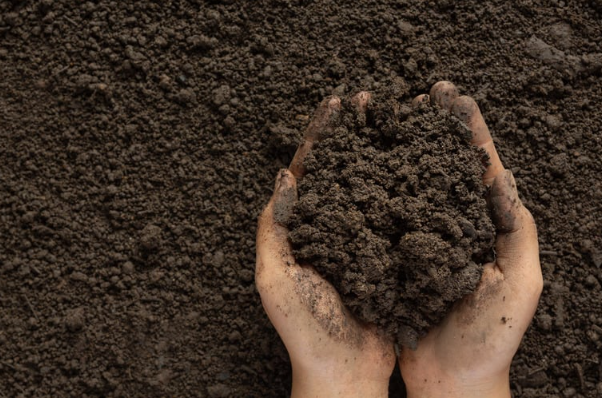
Healthy crops start with healthy soil. But how do you know if your soil has the right nutrients or pH level? That’s where soil testing comes in. Regularly testing your soil helps you understand its composition, nutrient availability, and pH balance—key factors that directly affect plant health and crop productivity.
Whether you’re a home gardener or a small-scale farmer, knowing your soil can prevent costly mistakes and improve yields.
What You Need for DIY Soil Testing
You don’t need fancy lab equipment. Here’s what you’ll need to start testing soil at home:
- Clean glass or plastic jars
- Distilled water
- Vinegar and baking soda
- pH strips (optional but helpful)
- A simple trowel or garden spade
- Labels and a pen for sample marking
Step-by-Step: DIY Soil Testing Methods
1. Soil Texture Test (Jar Method)
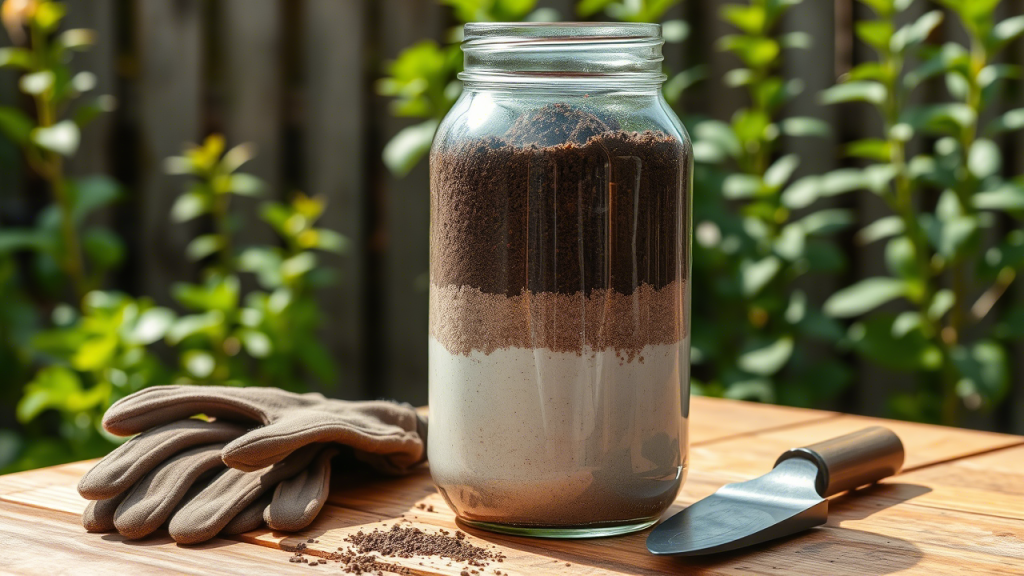
Goal: Understand the ratio of sand, silt, and clay.
How to do it:
- Fill a jar 1/3 with soil and the rest with water.
- Shake it hard for 1-2 minutes and let it sit for 24 hours.
- Watch the layers settle. Sand will be at the bottom, then silt, then clay.
What does it mean:
Too much clay? Your soil may drain poorly. Too sandy? It may dry too fast. A balanced loam is best for most crops.
2. Soil pH Test with Vinegar & Baking Soda
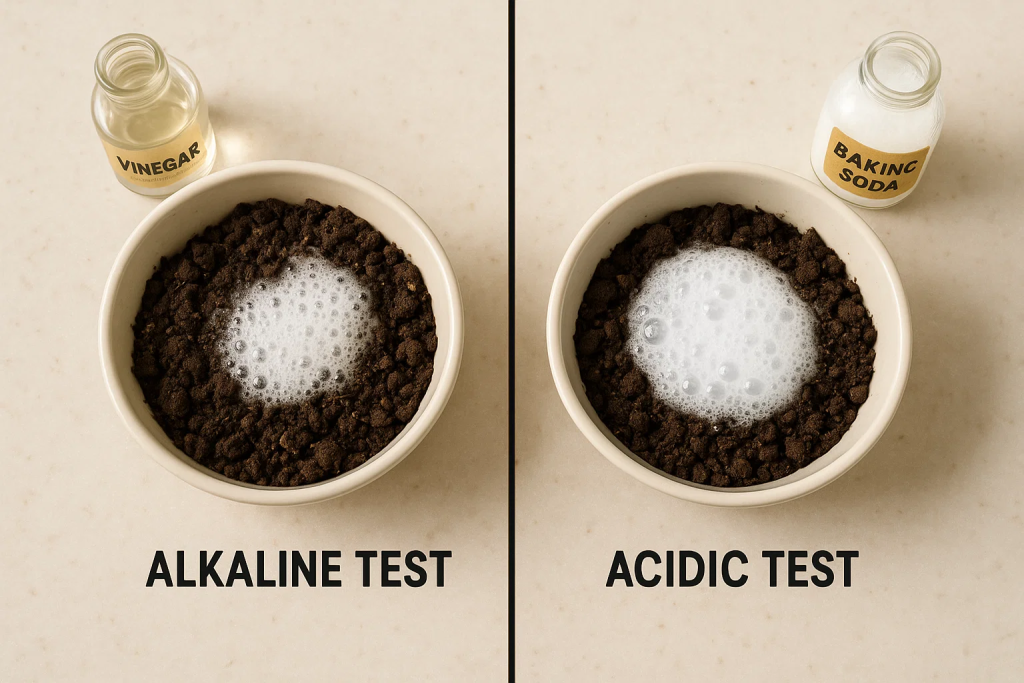
Goal: Check if your soil is acidic or alkaline.
How to do it:
- Place two soil samples in separate containers.
- Add vinegar to one. If it fizzes, your soil is alkaline.
- Add water and baking soda to the second. If it fizzes, your soil is acidic.
Ideal pH: Most crops grow best in a slightly acidic to neutral pH (6.0–7.0).
🔍 Want accuracy? Use pH test strips for more precise results.
3. Soil Drainage Test

Goal: Assess how well your soil drains.
How to do it:
- Dig a 12-inch-deep hole and fill it with water.
- Let it drain completely. Fill it again and time how long it takes to drain.
What does it mean:
- Drains in under 2 hours? Too sandy.
- Does it take over 8 hours? Too much clay.
How to Interpret the Results
Once you know your soil’s pH, texture, and drainage, here’s what to do:
- Acidic Soil (pH < 6): Add lime or wood ash.
- Alkaline Soil (pH > 7): Add sulfur, peat moss, or organic compost.
- Poor Drainage: Mix in sand or organic compost to improve aeration.
- Nutrient Deficient: Add compost, manure, or specific fertilizers based on crop needs.
Tips to Improve Soil Health Naturally
To improve soil health naturally, start by testing your soil and then adopting eco-friendly practices. Regularly adding compost or vermicompost enhances organic matter and microbial activity. Crop rotation helps prevent nutrient depletion and reduces pest buildup. Planting green manure and cover crops not only protects the soil but also restores essential nutrients. Avoid excessive use of chemical fertilizers, as they can degrade soil structure over time. Instead, use sustainable alternatives like Azolla, biofertilizers, and cow dung to enrich the soil and promote long-term fertility.
🔗 Learn more: Top Sustainable Pest Management Methods for Organic Farming
(FAQ)
Q1: How often should I test my soil?
At least once a year, preferably before planting season.
Q2: Can I use DIY test kits from Amazon?
Yes, they work well for basic pH and nutrient checks.
Q3: What if I find worms in my soil?
That’s a good sign! Earthworms improve soil aeration and fertility.


